
0
Owner's of the Olympus Digital Camera V109010BU000 gave it a score of 0 out of 5. Here's how the scores stacked up:


83
EN
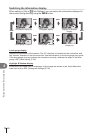
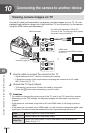
Connecting the camera to another device
10
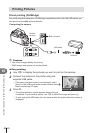
Custom printing
1
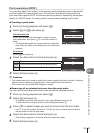
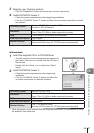
Connect the camera to the printer using the supplied USB cable and turn
the camera on.
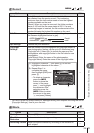
• When the camera is turned on, a dialog should be
displayed in the monitor prompting you to choose a
host. If it is not, select [Auto] for [USB Mode] (P. 68) in the
camera custom menus.
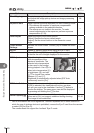
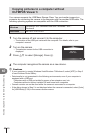
2
Use FG to select [Custom Print].
• [Do Not Remove USB Cable] will be displayed, followed
by a print-mode selection dialog.
• If the screen is not displayed after a few minutes, disconnect the USB cable and start
again from Step 1.
3
Follow the operation guide to set a print option.
Selecting the print mode
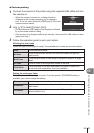
Select the type of printing (print mode). The available print modes are as shown below.
Print Prints selected pictures.
All Print
Prints all the pictures stored in the card and makes one print for
each picture.
Multi Print
Prints multiple copies of one image in separate frames on a single
sheet.
All Index Prints an index of all the pictures stored in the card.
Print Order
Prints according to the print reservation you made. If there is no
picture with print reservation, this is not available.
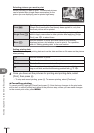
Setting the print paper items
This setting varies with the type of printer. If only the printer’s STANDARD setting is
available, you cannot change the setting.
Size Sets the paper size that the printer supports.
Borderless
Selects whether the picture is printed on the entire page or inside a
blank frame.
Pics/sheet
Selects the number of pictures per sheet. Displayed when you have
selected [Multi Print].
USB
Easy Print
MTP
Storage
Set
Custom Print


Find Your Products By Category
Please Login
